
Instructions
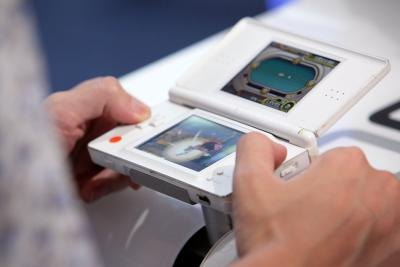
Opening the DS
1. Remove any and all game cartridges and game flash cards from your DS system.
2. Get rid of the DS stylus from the holding slot.
3. Unscrew the screw holding battery cover available with a jeweler's screwdriver and expose battery by prying the top's served by a pin or needle.
4. Get rid of the battery with all the pin as you did the top's. jklzaeqc 1119
5. Remove each of the screws which have been now exposed in the battery compartment, plus the other screws visible with the corners of the DS's underside with both the jeweler's as well as the Tri-wing screwdrivers.
6. Search for a small, black-colored screw next to the flashcard slot and remove it.
7. Open the ds case by gently pulling apart the halves with all your fingers. Set a corner cover aside and lay the remaining half with their face down with the motherboard and internal electronics facing you.
Eliminate the Corrupted BIOS Chip
8. Orient the DS so that the shoulder "L" and "R" buttons are near the highest. The BIOS chip you are replacing would be the metal rectangle located just under the "R" button which has a square of black foam covering number one.
9. Don an anti-static or grounding bracelet.
10. Insert a jeweler's screwdriver meticulously under the microphone connection. That is a small black wire running from the BIOS chip and also the back with the screen. Gently pry upwards to drag out your connector at the BIOS end.
11. Hold the BIOS chip regarding the forefinger and thumb and gently pull it from your motherboard. Set it aside. But if your replacement chip remains that come with another motherboard, erase it inside same fashion.
Install a New Chip
12. Orient the modern chip into position, fit its pins into your white chip slot and push it down into place.
13. Get in line the pins in the microphone wire connector towards the port within the replaced BIOS chip, then gently push it within your fingertip.
14. Nudge the microphone wire into the crevice where it absolutely was originally tucked away in order that it won't be damaged if your cover is replaced.
15. Get the rear cover and orient it on the ds cases. Slide the electricity switch all the way up down (in your direction) and the volume slider right to your right.
16. Press the cover into place, and re-install all screws.
没有评论:
发表评论